WooCommerce

The Qualpay WooCommerce Plugin uses Qualpay's Embedded Fields and Payment Gateway to securely process single and recurring credit card as well as ACH payments.
Installing the Qualpay Plugin from the WordPress Dashboard
Once you have downloaded the file above, follow these steps after logging into WordPress.
Note: To install the Qualpay Plugin, install the WooCommerce plugin from WordPress first.
-
Log in to your site's WordPress dashboard.
-
Click on the Plugins menu.
-
Click on Add New.
-
Click on Choose File and select
qualpay-woocommerce-plugin-v3.2.4.zip. -
Click on Open, then click Install Now.
-
When loaded, click Activate Now.
Installing the Qualpay Plugin via SFTP
Once you have downloaded the file above, follow these steps after logging into your site via FTP or SFTP.
Note: To install the Qualpay Plugin, install the WooCommerce plugin from WordPress first.
-
On your local machine unzip
qualpay-woocommerce-plugin-v3.2.4.zip. -
Upload the extracted folder to the
/wp-content/pluginsdirectory on your site. -
Go to the WordPress dashboard.
-
Click on the Plugins menu.
-
Find Qualpay in the list of plugins.
-
Click Activate to activate the plugin.
Upgrading the Qualpay Plugin
-
Log in to your site's WordPress dashboard.
-
Hover over or Click the Plugins tab, then click on Installed Plugins.
-
In the Installed Plugins list, locate the Qualpay plugin.
-
If there is an option to update now, a newer version exists. Select update now to upgrade your WooCommerce Plugin. Once completed, you will see the success message "Updated!".
Configuring the Qualpay Plugin
-
Log in to your site's WordPress Dashboard.
-
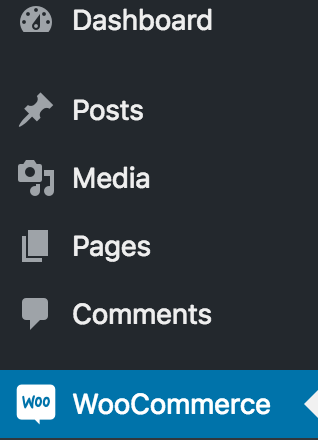
Click the WooCommerce menu.
-
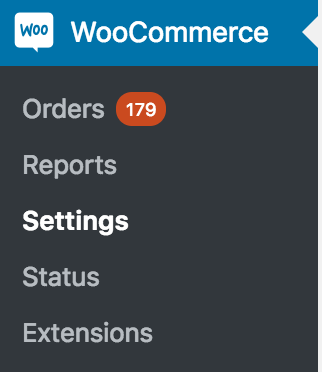
Click the Settings submenu.

-
Click on the Payments tab.

-
Click on the Manage button next to the Qualpay payment method.

-
Check the Enable/Disable box to enable the payment gateway.

-
Optionally edit the Title, which appears during checkout.

-
Optionally display the Qualpay Secure logo.

-
Optionally edit the Description, which appears during checkout.

-
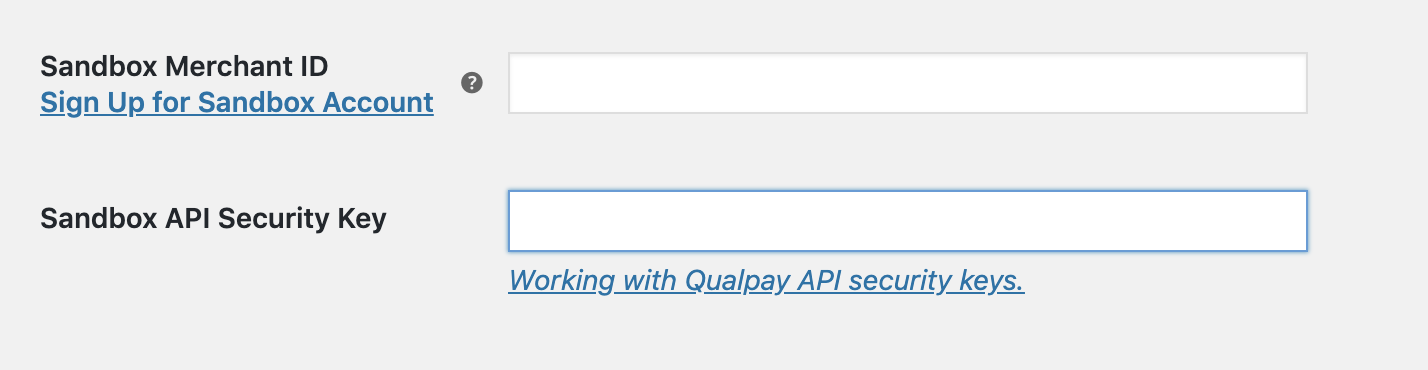
Check the Enable Sandbox Mode box if you will be using the Qualpay sandbox.
-
If Sandbox Mode mode is enabled, add your assigned Sandbox Merchant ID and API Security Key.
-
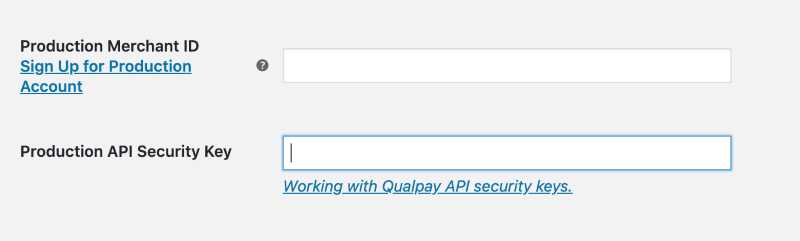
Add your assigned Production Merchant ID and API Security Key. Please enable the Payment Gateway, Webhooks, and Embedded Fields APIs. If you wish to use recurring billing, enable Customer Vault and Recurring Billing APIs as well.

-
Optionally, check the Capture Charge Immediately box to capture funds immediately. If you leave this box unchecked your transactions will process as Authorization only transactions, which will require you to capture manually. If you plan to accept ACH transactions you must check this box.

-
Optionally, check the Recurring Payments box to activate Qualpay recurring payments functionality.
-
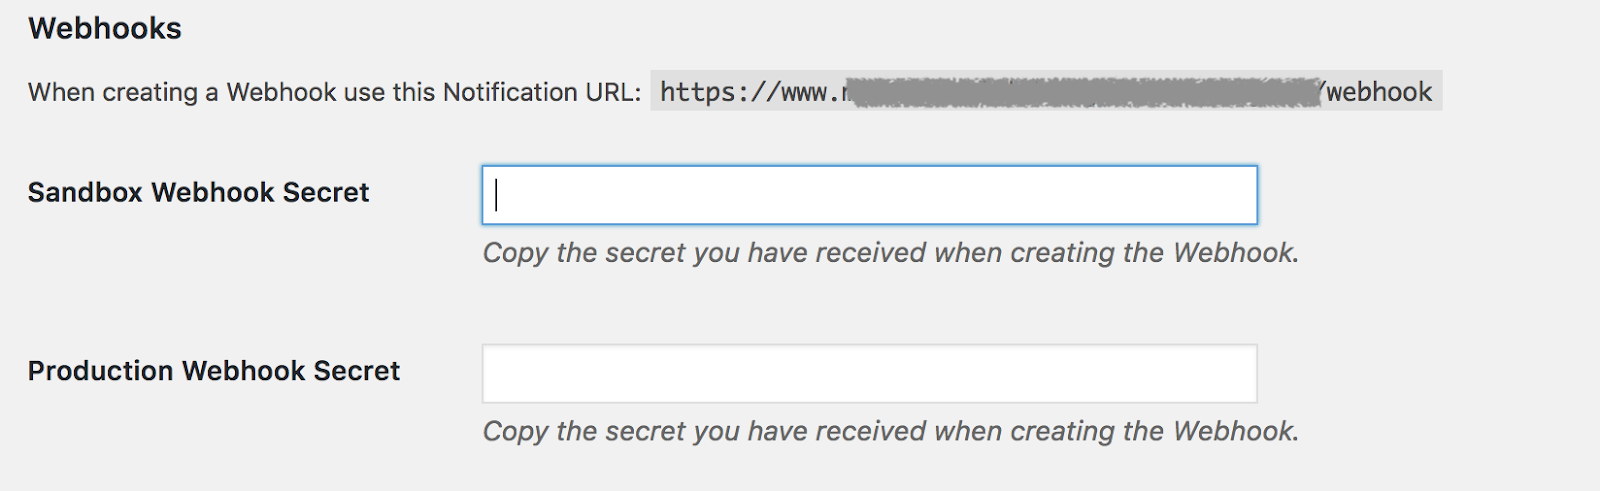
You can add Qualpay's webhooks to keep your WooCommerce orders up-to-date with the latest transaction statuses from Qualpay. Be sure that you've enabled the webhooks API on your API security keys to use this feature.
-
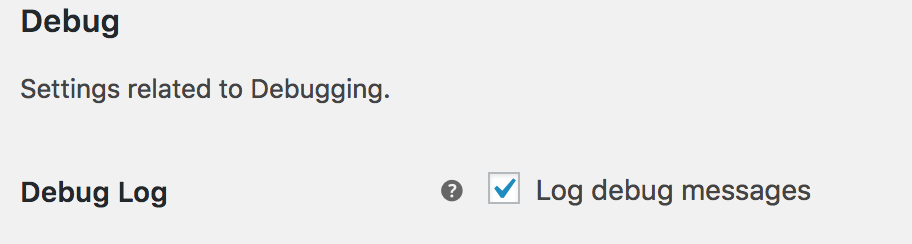
Check the Debug Log box to save debug information to a log.
-
Optionally, check the Save Card box if you wish to allow your customers to use a previously used card.

-
Click Save.
Viewing Debug Information
-
Log in to your site's WordPress Dashboard.
-
Click the WooCommerce menu.
-
Click the Status submenu.
-
Click the Logs tab.
-
Select the log that starts with
qualpay-and click View. -
The log contents can be copied and pasted into a discussion with support staff.
For more information on using the Qualpay WooCommerce plugin visit our Knowledge Base.