Webhooks in Qualpay Manager
This page provides instructions for creating and managing webhooks through the Qualpay Manager portal. See the Webhooks API guide to add and manage webhooks through our API.
Prerequisite
Follow the steps in Create a Sandbox Account to sign up and create a password for a Qualpay merchant sandbox account. (This can be either an independent merchant account, or the sub-merchant account set up for a partner sandbox account.)
Create a Webhook in Qualpay Manager
Follow these steps to create a webhook in the Qualpay Manager portal:
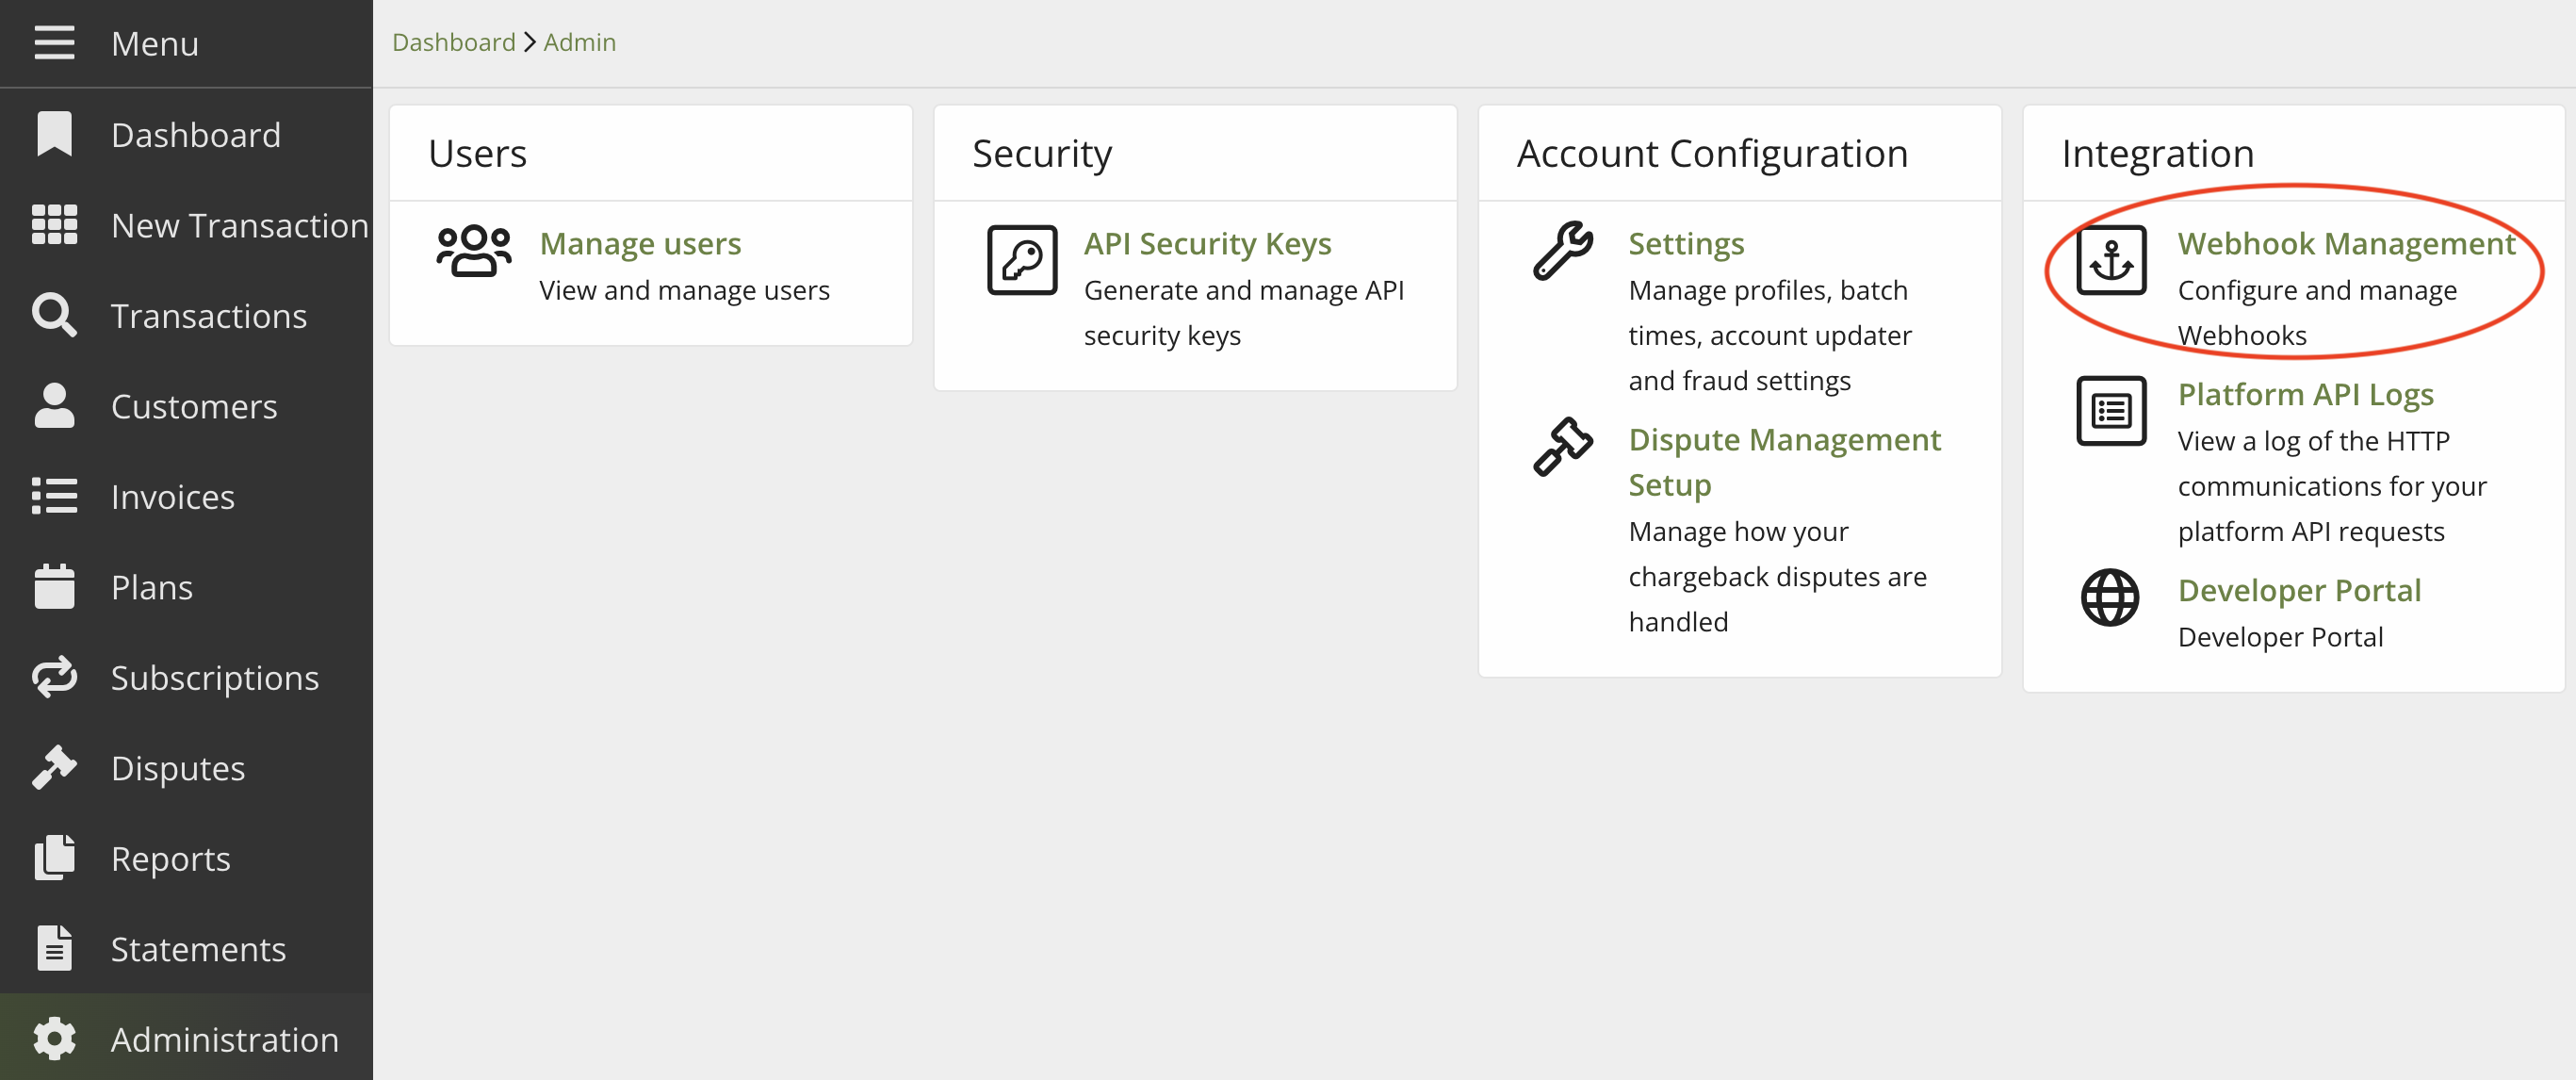
- Sign in to your Qualpay merchant sandbox account and select 'Administration' in the left-hand menu.
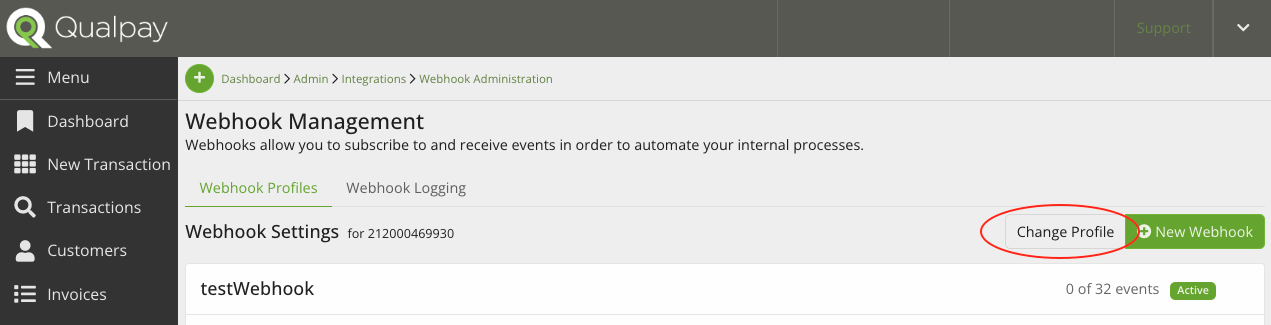
- Under 'Integration,' select 'Webhook Management':
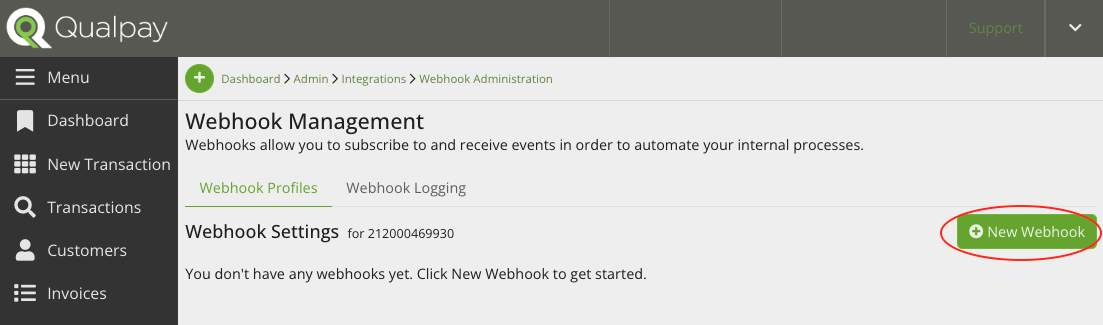
You are now on the webhook management page for all of this account's webhooks.
- To add a new webhook, select 'New Webhook' in the top right:
This opens a form for a new webhook:
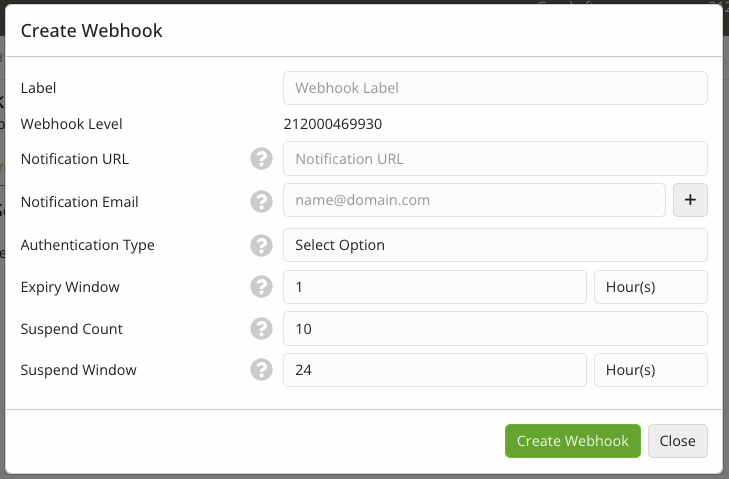
- Enter the following information:
- Label - A label for your webhook.
- Notification URL - The URL to which Qualpay will post webhook events. This must use HTTPS.
- Notification Email - Type to add one email address; click the + icon to add more than one address. Qualpay will notify each address if the webhook is suspended.
- Authentication Type - Use the drop-down menu to select what will secure the webhook POST request to your server. Adding HTTP Basic authentication will enforce access control to all webhook notifications.
- Expiry Window - Enter how long the event should keep retrying before it's considered expired. Select 'Hour(s)' to switch between units of time. By default, this is set to one hour.
- Suspend Count - Enter the number of failed webhook events to allow before the webhook is suspended. The default limit is 10.
- Suspend Window - Enter the time frame in which a webhook will be suspended if it only encounters failures (with no successful events). Select 'Hour(s)' to switch between units of time. By default, this is set to 24 hours.
-
Select 'Create Webhook.' This opens a window displaying the security key for your new webhook. Copy and save the key, and close the window:
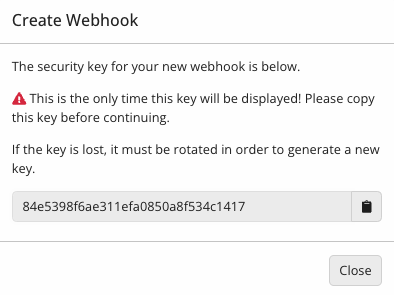
Save Your SecretThe site will not show you the entire webhook secret again. If you lose it, create a new secret by rotating it: Open the webhook management page for your webhook and, next to 'Security Key,' select 'Rotate.'
To add events and make other edits to your new webhook, see the 'Edit a Webhook in Qualpay Manager' section below.
Edit a Webhook in Qualpay Manager
To edit a previously created webhook in the Qualpay Manager portal, do the following:
- Sign in to your Qualpay merchant sandbox account and select 'Administration' in the left-hand menu.
- Under 'Integration,' select 'Webhook Management.'

You are now on the webhook management page for all of this account's webhooks.
- If you have multiple webhooks, select 'Change Profile' to choose the webhook you wish to edit:
This opens Webhook Settings for that webhook. Here you can do the following:
- Edit the information fields provided when creating a webhook.
- Change which events to receive notifications about.
- Validate your webhook's notification URL (see below).
- Disable or enable your webhook (see below).
- Rotate your webhook security key.
- When you select 'Rotate Key,' you can choose to expire the current key later and set the amount of time for a key grace period. This allows time to update your systems with the new security key. During this period, the webhook has two simultaneous secrets.
- To immediately invalidate the old secret, select to expire the current key 'Now.'
Save ChangesChanges to a webhook's configurations do not automatically save. Remember to select 'Save' to set each configuration.
Validate a Webhook URL in Qualpay Manager
Follow these steps to validate that your URL can receive notifications:
- Follow the steps in 'Edit a Webhook in Qualpay Manager' to access the webhook management page for the webhook you wish to validate.
- Next to 'Notification URL,' select 'Validate.'
A message will appear that confirms validation or failure. If your URL is not validated, the message specifies the HTTP error to address.
Disable or Enable a Webhook in Qualpay Manager
A webhook can be enabled (also referred to as "active") or disabled (also referred to as "inactive"). Do the following to enable or disable a webhook in Qualpay Manager:
- Follow the steps in 'Edit a Webhook in Qualpay Manager' to access the webhook management page for the webhook you wish to enable or disable.
- Next to 'Change Status,' click the button to enable or disable the webhook. The webhook's status updates immediately to reflect the change.
Review Webhook Logs in Qualpay Manager
To view a log of the HTTP communications for your webhook requests, do the following:
- Follow the steps in 'Edit a Webhook in Qualpay Manager' to access the webhook management page.
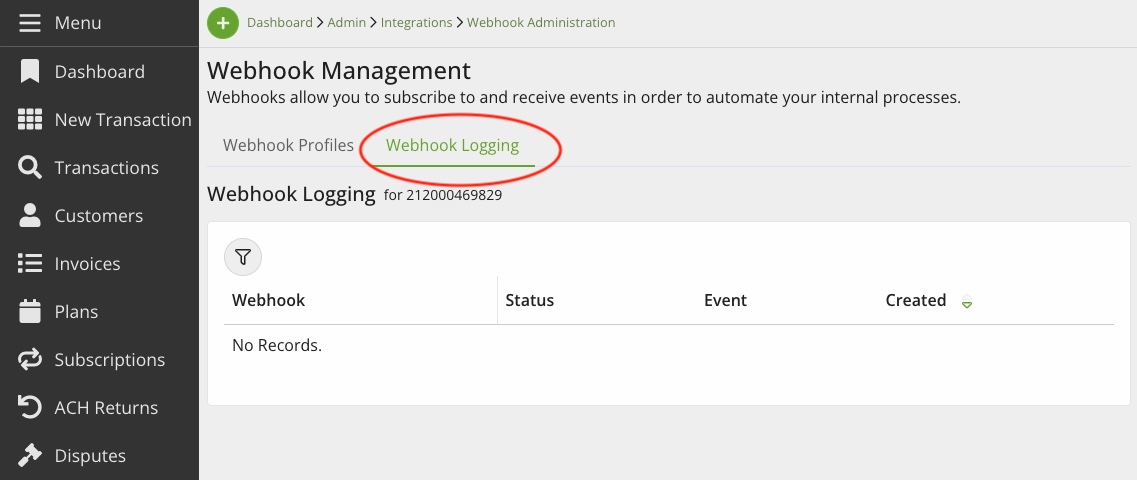
- Select 'Webhook Logging' at the top of the page: