Gravity Forms

Build your own custom payment forms and securely accept one-time and subscription payments with Qualpay's plugin for Gravity Forms. This plugin uses Qualpay's Level 1 PCI Compliant Embedded Fields and Payment Gateway.
Installing the Qualpay Plugin for Gravity Forms from the WordPress Dashboard
After you have downloaded the file, follow these steps after logging into WordPress.
-
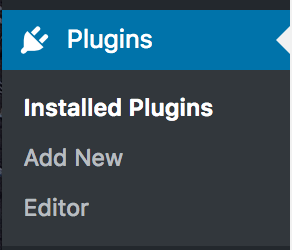
Select Plugins -> Add New.

-
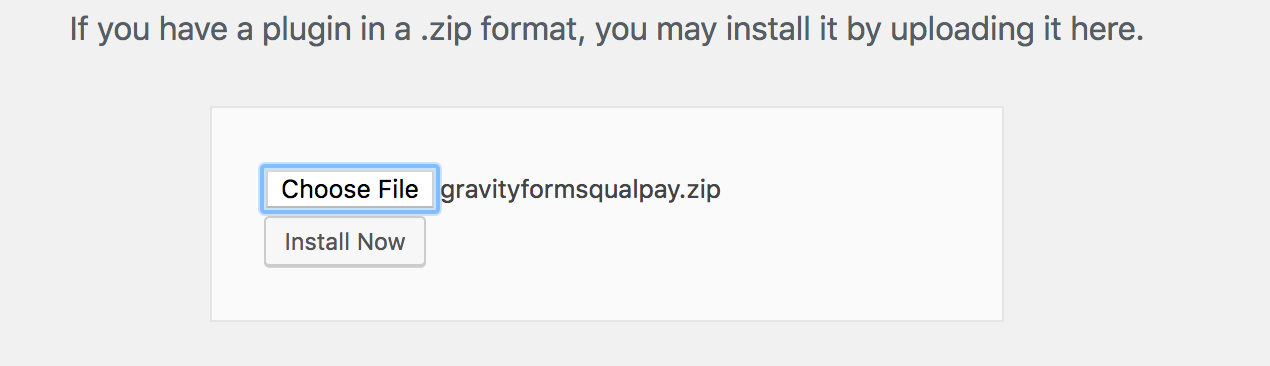
Click Upload Plugin.
-
Click Choose File -> Select the file you just downloaded.
NOTE: It may be necessary to rename the file to qualpay-payment-for-gravity-forms.zip if you experience any issues. -
Click Install Now
-
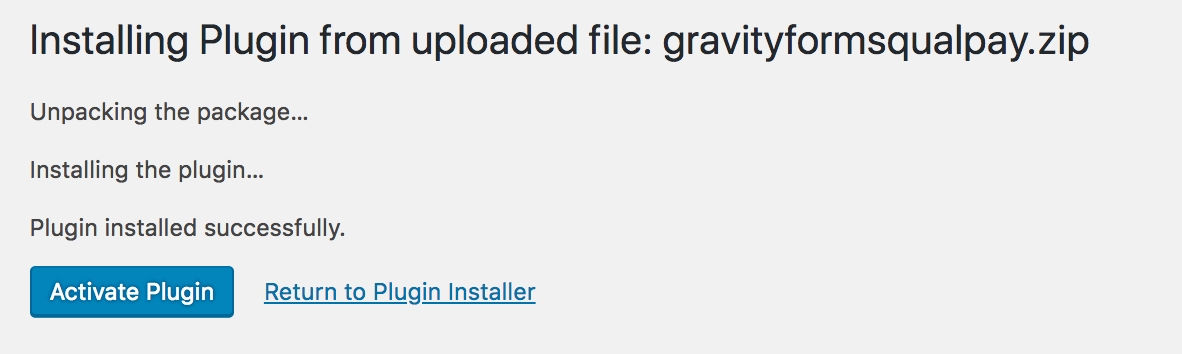
Click Activate Plugin
The message "Plugin installed successfully" is displayed when the installation and activation of the Qualpay plugin is complete.
NOTE: Qualpay's plugin is an add-on to Gravity Forms, you must first install the Gravity Form plugin, before installing the Qualpay Plugin for Gravity Forms.Installing the Qualpay Plugin via SFTP
-
On your local machine unzip the file
qualpay-payment-for-gravity-forms.zip. -
Login to your site using FTP or SFTP.
-
Upload the extracted folder to the
wp-content/pluginsdirectory on your site. -
Go to the WordPress Dashboard.
-
Click on the Plugins menu.
-
Find Qualpay in the list of plugins.
-
Press Activate to activate the plugin.
Upgrading the Qualpay Plugin
To check for and install newer (if available) version of the Qualpay Plugin for Gravity Forms:
-
Login to your WordPress Dashboard.
-
Hover over or Click the Plugins tab, then click on Installed Plugins.
-
In the Installed Plugins list, locate the plugin.
-
If there is an option to update now, a newer version exists. Select update now to upgrade your Plugin.
-
Once completed, you will see the success message "Updated!".
Retrieve Merchant ID and Security Key from Qualpay
You don't need to configure both Qualpay environments (production and sandbox) at the same time. You can add your sandbox merchant ID and security key for testing, then later add your production merchant ID and security key when you're ready. You can signup for a sandbox account and apply for a production account today.
You'll have a unique merchant ID and security key pair for each environment (sandbox and production). You'll need to retrieve Merchant ID's and Security keys for both environments from their respective portals.
-
Login to Qualpay Manager, click on Administration, then Account Details. Note your Merchant ID.
-
Click on Administration from the menu, API Security Keys and then ensure that the required API's are enabled. For this plugin, you'll need to enable the following APIs:
- Payment Gateway API
- Embedded Fields API
- Recurring Billing API
- Customer Vault API
- Reporting API - Transactions
- Webhook API
- Merchant Settings API
Add Qualpay Configuration to Gravity Forms:
Now that you have your form created, it's time to configure your Qualpay settings.
-
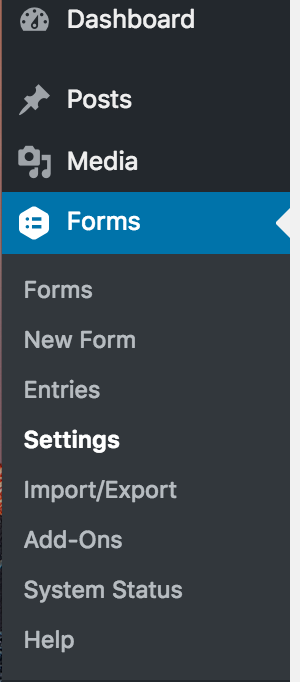
Click on Settings under the Forms navigation in your WordPress admin dashboard to add your Merchant IDs and Security Keys.
-
Select Qualpay from the Settings sub-navigation.
-
Enter the Sandbox Merchant ID and Security Key for your Qualpay account.
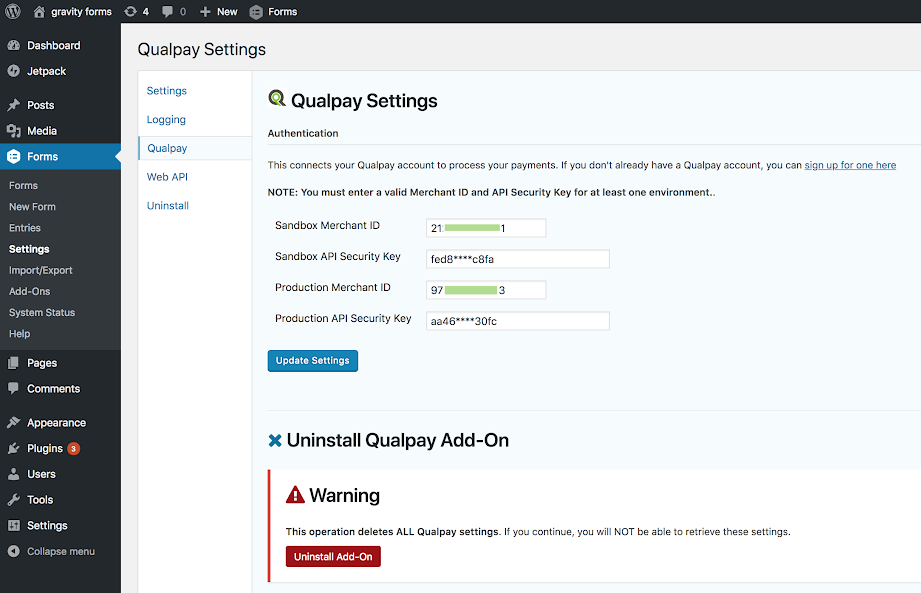
-
Enter the Production Merchant ID and API Security Key for your Qualpay account.
NOTE: If you're migrating to Qualpay from another payment provider you'll need to create your forms again after you install and configure your Qualpay Plugin for Gravity Forms. -
Click on Update Settings.
For more information on using Qualpay's Plugin for Gravity Forms please visit our Knowledge Base.